Inspiration for family travel around Florida and the world!

[su_expand height=”25″ link_color=”#a6e0e0″ more_icon=”icon: angle-double-down” less_icon=”icon: angle-double-up”]This post contains affiliate links. By doing so, I can easily provide examples to reference post related products. If you buy something through a link I provide, I may receive a small commission. I promise you will not be charged extra. And I’ll only refer to things I use, love and/or highly recommend. Read more here.[/su_expand]
For as long as I can remember, I have always had a passion for photography! It wasn’t until about 4 and a half years ago, that I finally decided to take the plunge and invest in a DSLR. My husband and I were expecting our first baby and I wanted to make sure I had a “fancy” camera all the pros were using! Back then I had NO IDEA what DSLR stood for! Let alone how big the learning curve would be compared to the point and shoots I was previously shooting with.
Over the years as I became more comfortable with my camera I learned so much! Including a bunch of different terms that are soo helpful if you want to dive in deeper into DSLR photography. Below you will find my top 10 common photography terms that I have found really helpful to know!
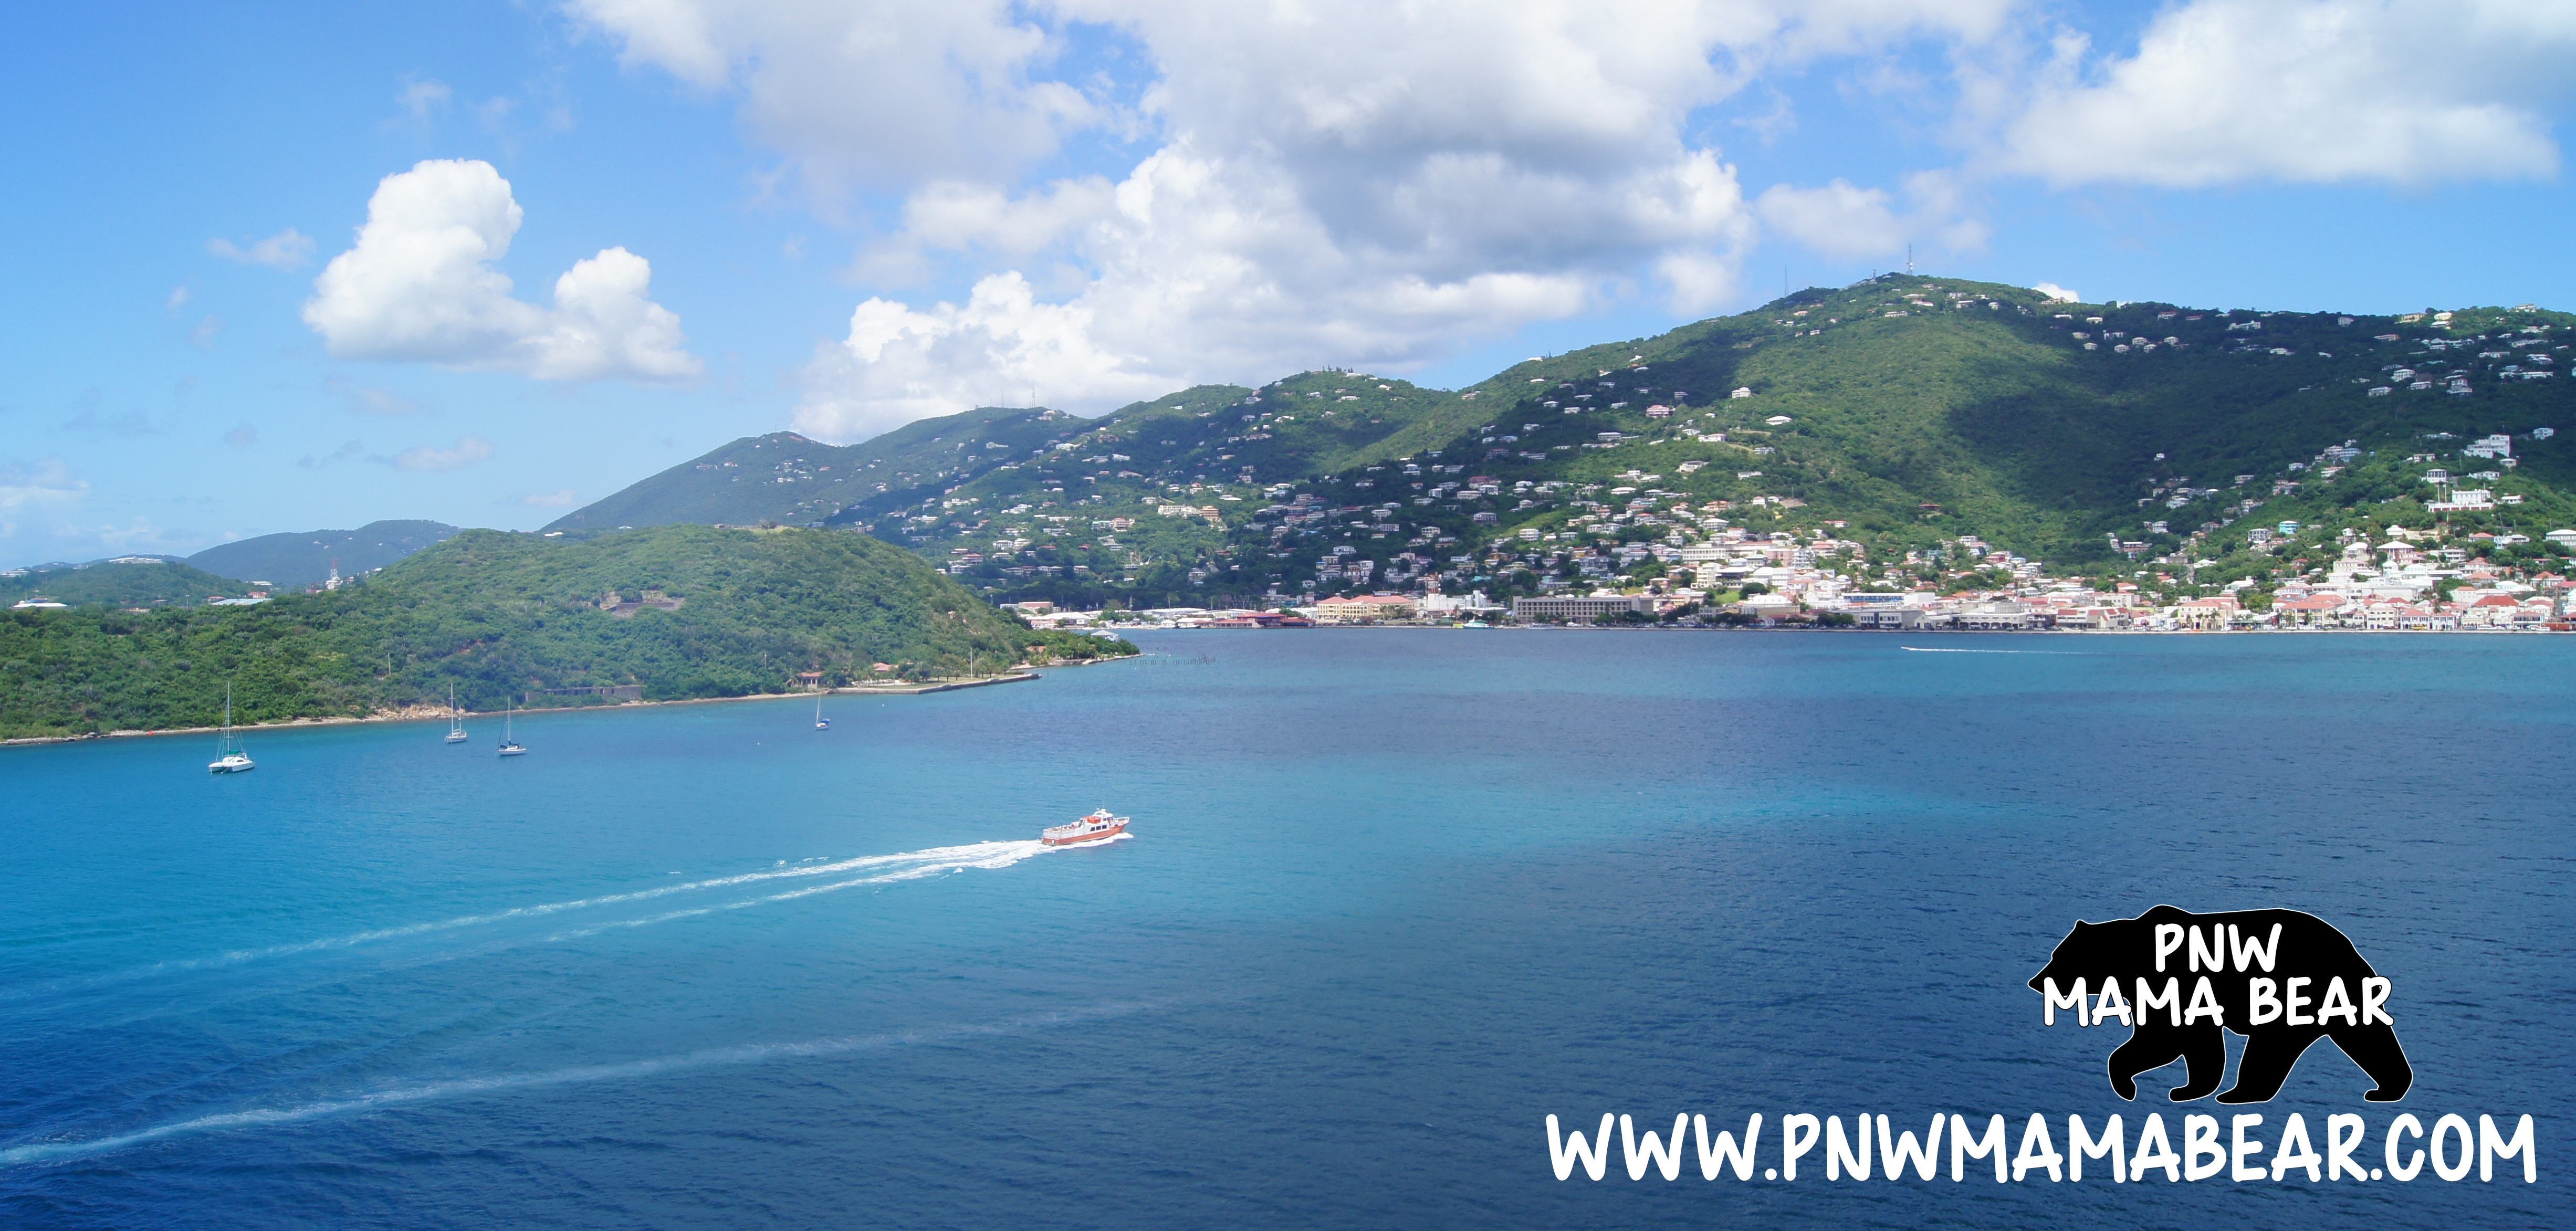
This is a really good one to know if you want to achieve that nice, smooth, blurred out background. If you are shooting in Aperture Priority mode or Manual you will see this shown as an “F” followed by a number. For example, F1.8, F3.8 or F22. The larger the aperture (smaller number) the more blurry your background will be. The smaller aperture (bigger number) will put more of the background and foreground in focus. So if you’re shooting portraits, the wider open you shoot (small f-stop) you will get a nice separation between your subject and background. So shooting landscapes for example, would benefit more with a smaller aperture (big f-stop). Because you will typically want everything in focus. One of my favorite images I have taken was on a family cruise to the Island of St. Thomas. I captured it at F13 so everything was in focus.
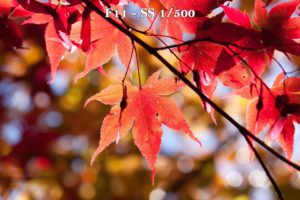
This Japenese term comes from the word boke. Which means “blur” or “haze”. Pronounced “bo-ka” it refers to the out of focus light sources which typically show up as blurred circles. Commonly confused with a “Shallow Depth of Field”, which refers to the blurry, out of focus area of an image. I tend to see the most Bokeh images come up around Christmas time with everyone capturing the tree lights out of focus. Below is an image from fall where you can see bokeh (light circles) coming through the gaps in the trees. It goes to show, you don’t have to shoot with a small f-stop to get good bokeh. Because the distance between the focus point (leaves in the foreground) is far away from the background, it produces a good blur and bokeh.
If you’re in a lot or even just a couple facebook groups for photographers you will constantly notice the abbreviation “SOOC”. Which stands for Straight Out Of Camera. Meaning no post production has been done to the image. It’s exactly what the camera produced.
Also know as JPG, pronounced “Jay-peg”. Refers to the file type of an image. This is the most commonly used format for images and other graphics. Because the file sizes are smaller than RAW files (more of that below). And you can instantly share them straight from your camera. You do not need to do any post-production (editing) to them to make them compatible with different devices and programs.
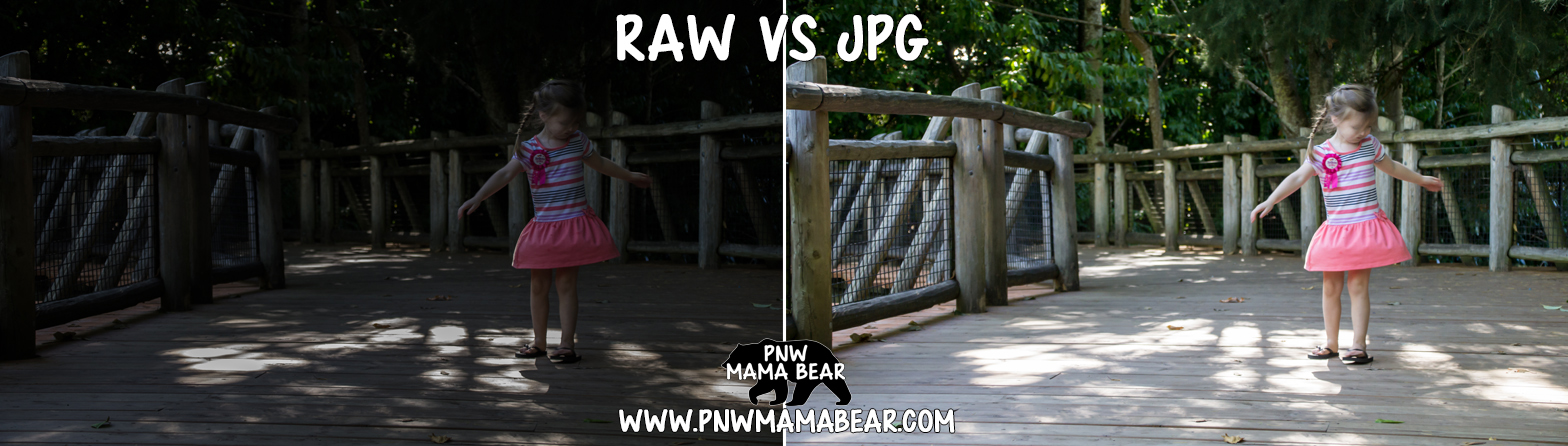
Like JPG, RAW is a file format for images. This one, however, holds a LOT more data. Which makes the file sizes huge! The benefit of shooting in RAW is that you have greater control over your images in post-production. For example, if you took a landscape shot, but your settings were off and resulted in the sky being blown out (overexposed). Don’t toss it out like you might if it was shot in JPG. Go into your photo editing software (I have been using Photoshop Elements since 2012. Currently, I am using PSE 13. But you can get the upgrade, PSE 15 here) you can easily adjust your sliders to bring back lost detail. And take what was once an image you were going to toss, into an image you can’t wait to hang on the wall.
This is simply just one of the awesome benefits to shooting in RAW. The attached images below show an example of what a RAW image can become with a little post-production magic.
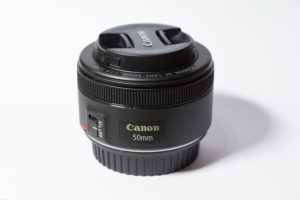
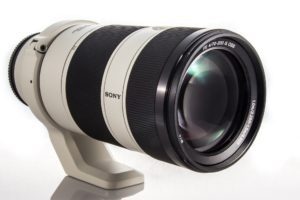
With all SLR and DSLR’s you have a removable lens. This allows the photographer to better capture their desired image by having; for example, a super wide angle lens for architecture photos. Allowing them to be close to their subject and still allow a lot into the frame. And a telephoto lens which has a lot more reach and can capture up close shots of far away distances, like vast landscapes, sporting matches, and even the moon. Changing lens allows these to happen without sacrificing image quality. Because sure you can shoot the moon with a wide angle lens. But if you wanted a close-up, you’d have to considerably crop the picture. Resulting in degrading the image quality. I love the versatility of my Tamron 18-200mm lens for capturing my quick moving kiddos. Whether they’re close or far away, I can always freeze those moments into photographs.
Commonly used to refer to the visual distortion in an image. Have you ever noticed a lot of “fuzziness” or “static” in a picture? Yep, that’s image noise. Depending on the level of DSLR you’re shooting with you may start seeing noise at only ISO800. Or maybe you have a camera that is better equipped to handle low light situations and you can shoot way up to ISO16,000 or more. It all depends on your camera’s ability to handle noise, typically in low light situations, like indoors where natural light tends to be lacking.
This is a mode on your camera that allows you to control EVERYTHING your camera does. You are acting as the brain for the camera. It’s the opposite of shooting in AUTO, where the camera tries to best decide the settings you want. I LOVE shooting in manual on my Sony DSLR. It allows me complete and creative control over everything. I used to think it would be so hard and scary to try and shoot in manual. But once I switched in August 2016 (forced myself to practice in manual on a family getaway. Because I knew I’d have a lot of time to practice), I never looked back. Now, shooting in AUTO seems foreign to me ha.
Because most light (the sun, indoor lights, flashlights etc) sources don’t produce pure white light, it is easy for you to get funky color casts in pictures. It all depends on the color temperature of the light source. On your DSLR if you find your WB or White Balance you’ll see you have a lot of different options for choosing what the light source of your images is. When chosen correctly you produce correct colored images. But if you’re shooting indoors with tungsten light (pretty common) and shooting in a WB set for the sun your subject might come out looking like an orange popsicle straight off the ice cream truck.
Or SS for short refers to how fast your shutter is open to capture the image. SS is the main setting to adjust when trying to freeze or blur your subjects. Like waterfalls, athletes and fast cars. Do you want to freeze that waterfall? You’ll want a fast SS (ex: 1/200) to stop the water. Or maybe you want to produce a silky soft look to the water. You’ll want to slow down your SS (ex: 1/5 or 1/15) to allow the water to move during the time the shutter is open. Just make sure to brace your camera with a tripod, to reduce camera shake. I love my Ravelli Tripod that I found on Amazon for only $25! Small and lightweight, plus it comes with a convenient storage/carrying bag.

[pin_board url=”https://www.pinterest.com/pnwmamabear/pnw-mama-bear-family-travel-family-lifestyle-blog/” size=”custom” image_width=”100″ board_width=”900″ board_height=”450″]